Steps to enable Prettier code formatter extension on VS Code.
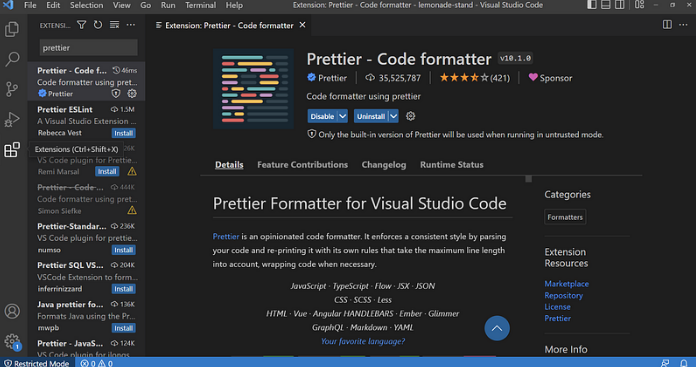
Step 1 — Install Prettier
Open VS Code → Navigate to Extensions → Search for Prettier → Install the extension.
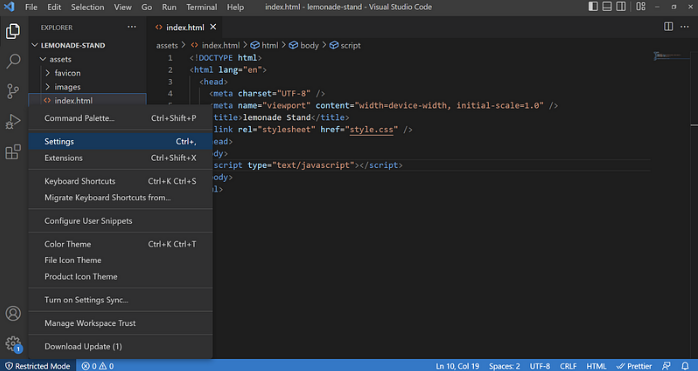
Step 2 — Open Settings
Go to settings (bottom left corner settings icon).
Step 3 — Enable Format On Save
Search 'format' and check on 'Enable: Format On Save'.

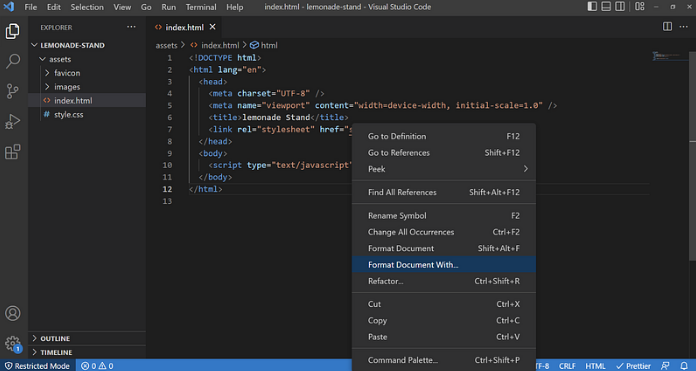
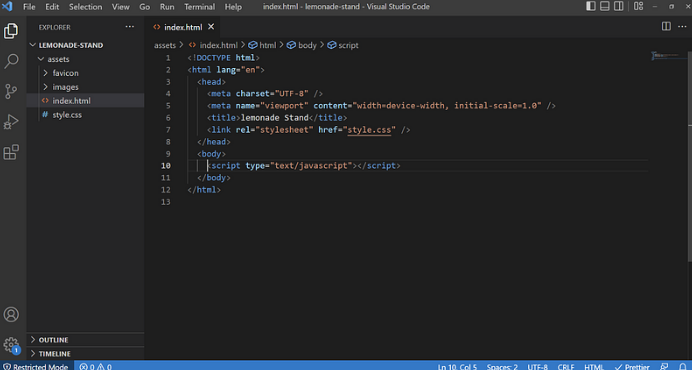
Step 4 — Format Document With
Right click on your project file and click on 'Format Document With'.
Step 5 — Configure Default Formatter
Select 'Configure Default Formatter' from the drop-down menu that appears.
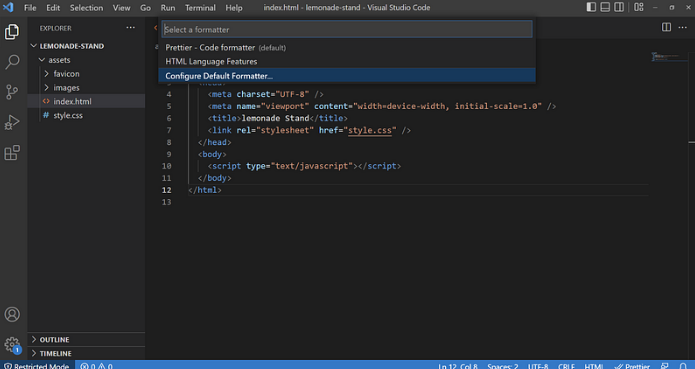
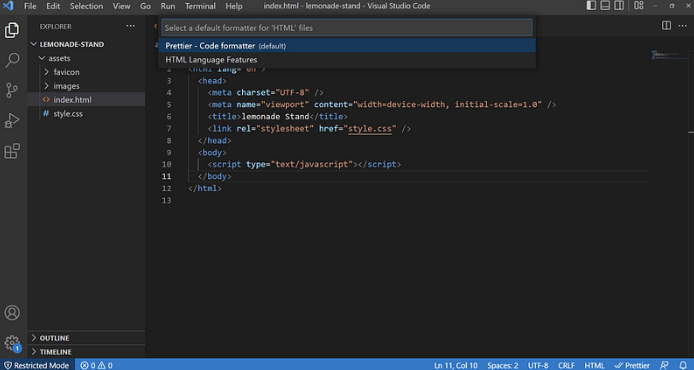
Step 6 — Choose Prettier
Choose 'Prettier' as your default formatter.
Step 7 — Modify Your Code
Make some changes to your code.
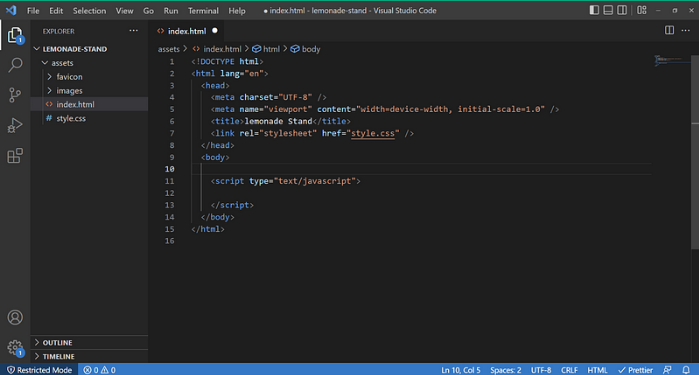
Step 8 — Save and Auto Format
Try saving the changes (Ctrl + S / Cmd + S).
Et voila — your code should auto format now.
Originally published on Medium.